Remote Development
In addition to local development, Nuclide supports remote development. Using one of three authentication methods (Password, an SSH agent, or a private key), you can connect to a project on a remote machine. This project is then added to your Project Explorer’s File Tree as a remote project where development occurs just like it would with a local project.
Nuclide Server
Nuclide has two main components, the client and the optional server. The client is
set up via an Atom apm package on your local machine. The
server is set up via a Node npm package on any machine where you have
remote projects to which Nuclide will connect.
Prerequisites
The remote machine must meet certain prerequisites before the remote Nuclide server can be installed.
- Python 2.7 or later. In many cases, this will already be installed by default on your OS distribution.
nodeandnpmmust be in your$PATHenvironment variable.- Watchman. The Nuclide server requires Watchman to detect file and directory changes. Follow the Watchman build or install instructions for your server’s platform.
- SSH Daemon - The Nuclide client connects to the server via SSH, so ensure that the server exposes an SSH daemon that you can connect to from your client machine and that you know the required credentials. You will need to have an existing private key that can be used to connect to the server.
- Port 9091-9093 exposed. Note: you can specify another port in the Remote Server Command box in the Connection Dialog box.
Setup
The Nuclide server is installed through an npm package in
the Node Package Manager.
npm install -g nuclide
The
-gswitch to ensures Nuclide is installed as a Node global package.
While both the client and server packages are named
nuclide, theapmpackage is the client and thenpmpackage is the server.
You do not need to explicitly start the server since the Nuclide client will attempt to do so when it first connects through one of three authentication methods.
Remote Connection
There are two ways to connect to a project on your remote server.
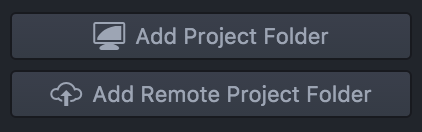
If you do not have any projects currently open in Nuclide, you can click on the Add Remote Project Folder button in the Project Explorer’s File Tree.
If you have a project already open, you can use Nuclide | Remote Projects | Connect Remote Project..., the Ctrl-Shift-Cmd-C keyboard shortcut (Mac only), or right-click in the Project Explorer’s File Tree and select Add Remote Project Folder.

You can also go to the Nuclide Home page, and click the Try it button for Remote Connection in the Quick Launch Menu.
Connection Dialog Box
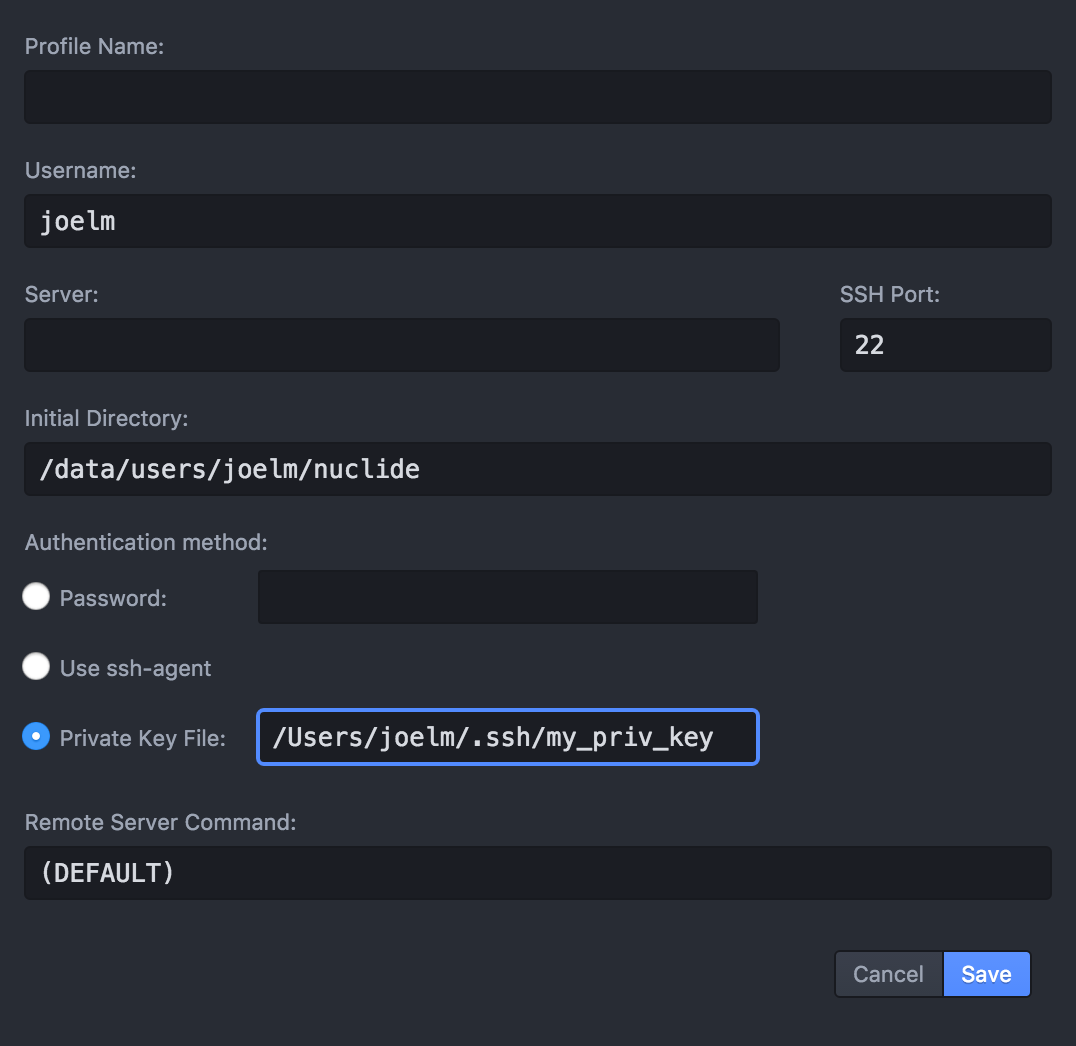
All the required information to connect to the remote Nuclide server is entered in the Connection Dialog box.

All of the values shown above are examples and will vary based on your own username, filesystem, and SSH and Nuclide configuration.
The options are as follows:
- Username - the username that you use to connect to your server.
- Server - the address of your server. This can be a domain name based or IP address.
- Initial Directory - the path on your remote server that contains the project you want to open.
- SSH Port - the port used to connect to your server (default is 22).
- Use ssh-agent-based authentication - causes the server to try and talk to the ssh agent.
- Password - your server password, if you wish to use password authentication.
- Private Key - the local path to your private SSH key for this server (Note: If your key is password protected you have to add it to the ssh-agent and use the ssh-agent-based authentication option).
- Remote Server Command - if you have correctly installed the
Nuclide server, this will be
nuclide-start-server. If not, you need to supply the full path to the location of the script. You can either let the script pick an open port for you from a list of predefined ports, or start the server on a specific port using the--portflag. For example, in this box, you could typenuclide-start-server --port 9099(or similar).
Only one of the three authentication options can be chosen and used.
After supplying these options, click Connect.
Profiles
In order to reduce the tediousness of having to specify the same connection information over and over for machines you connect to frequently, you can use profiles.

To create a profile, click the + button under the Profiles list on the left side of the Connection Dialog box.
Any pre-filled information will be based on your (default) profile. Enter all of your connection information for the new profile (similar to that in the Connection Dialog box), then click Save.
(DEFAULT)in the Remote Server Command box is the default command for the Nuclide server, which isnuclide-start-server.
Development
Once you have established a remote connection and the Nuclide server is initiated, the root folder of the project will be added to the Project Explorer’s File Tree, underneath any other local (or other remote) projects you currently have open.

Nuclide has now established a connection between your local client and the remote server, and development can take place as normal.
Changes made to a remote file in Nuclide is reflected on the remote machine; changes made in the project on the remote server is reflected in your remote project file tree within Nuclide.