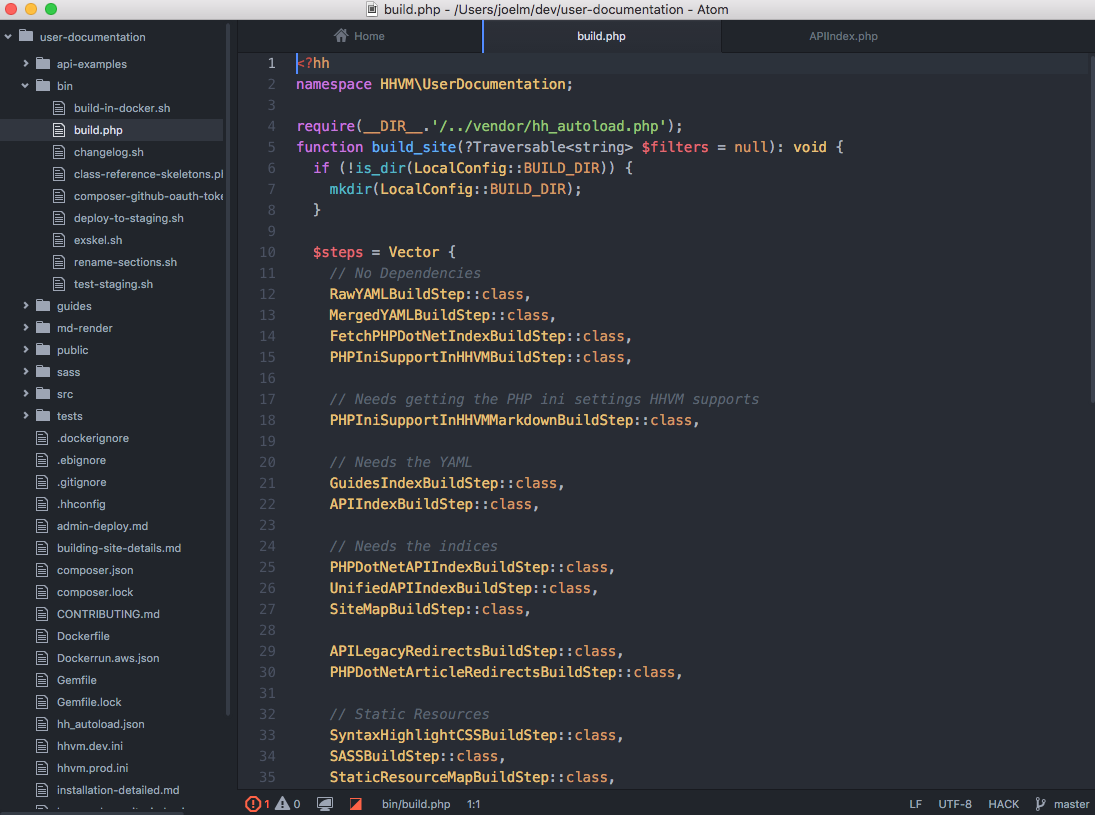
Basics
Nuclide is a code editor built on the backbone of GitHub’s Atom text editor. Like other code editors and IDEs, there is a familiar look and feel to Nuclide. On the left side is your project tree, which includes associated files and folders. On the right side is the main editor that contains the code and text for files in your project. And at the bottom is a status bar providing quick-look information such as errors, the path of the current file relative to your project root, the type of file that is open, and other context-aware data.
- Opening
- Project Explorer
- Editing Area
- Status Bar
- Gutter
- Preferences Pane
- Command Palette
- Distraction-Free Mode
Opening
Assuming you have it installed, Nuclide is opened by opening Atom via mouse (Dock, Applications folder, etc.) or from the command-line in a terminal window by running:
$ atom
To enable opening Atom from the command-line, you will need to install shell commands from the either the
Atommenu or the Atom Command Palette. In the Command Palette, search for “Window: Install Shell Commands”.
To open a specific directory into the Project Explorer, you can add a path argument to the atom command.
$ atom /path/to/your/project/
By default, when you open Nuclide, the Home page appears.
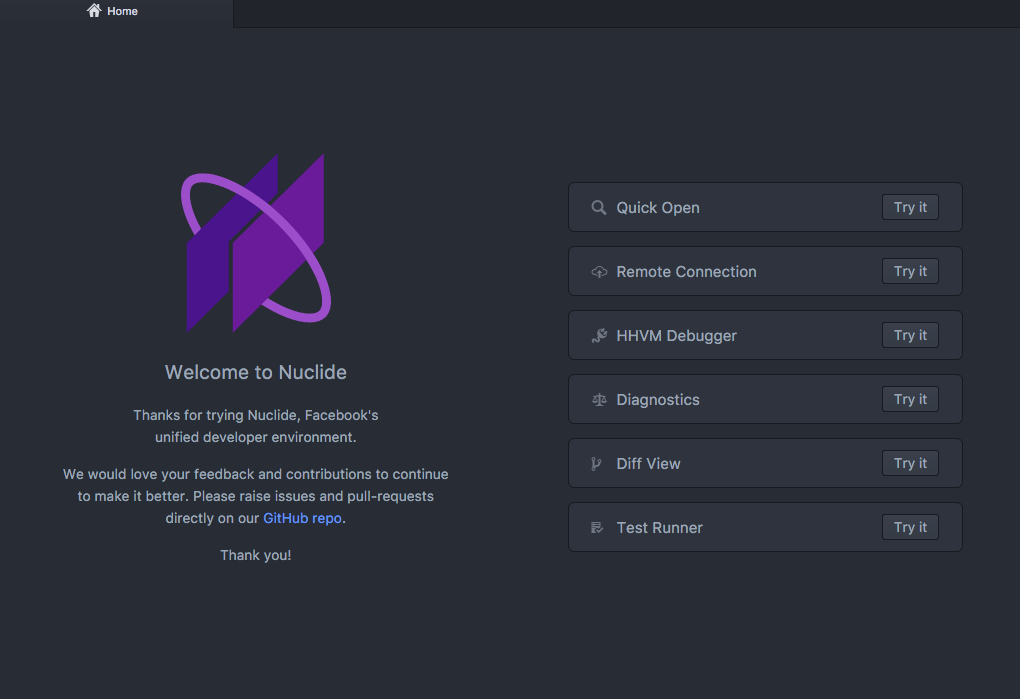
The Nuclide Home page gives you quick access to common Nuclide tools and features, as well as information regarding how to provide feedback.
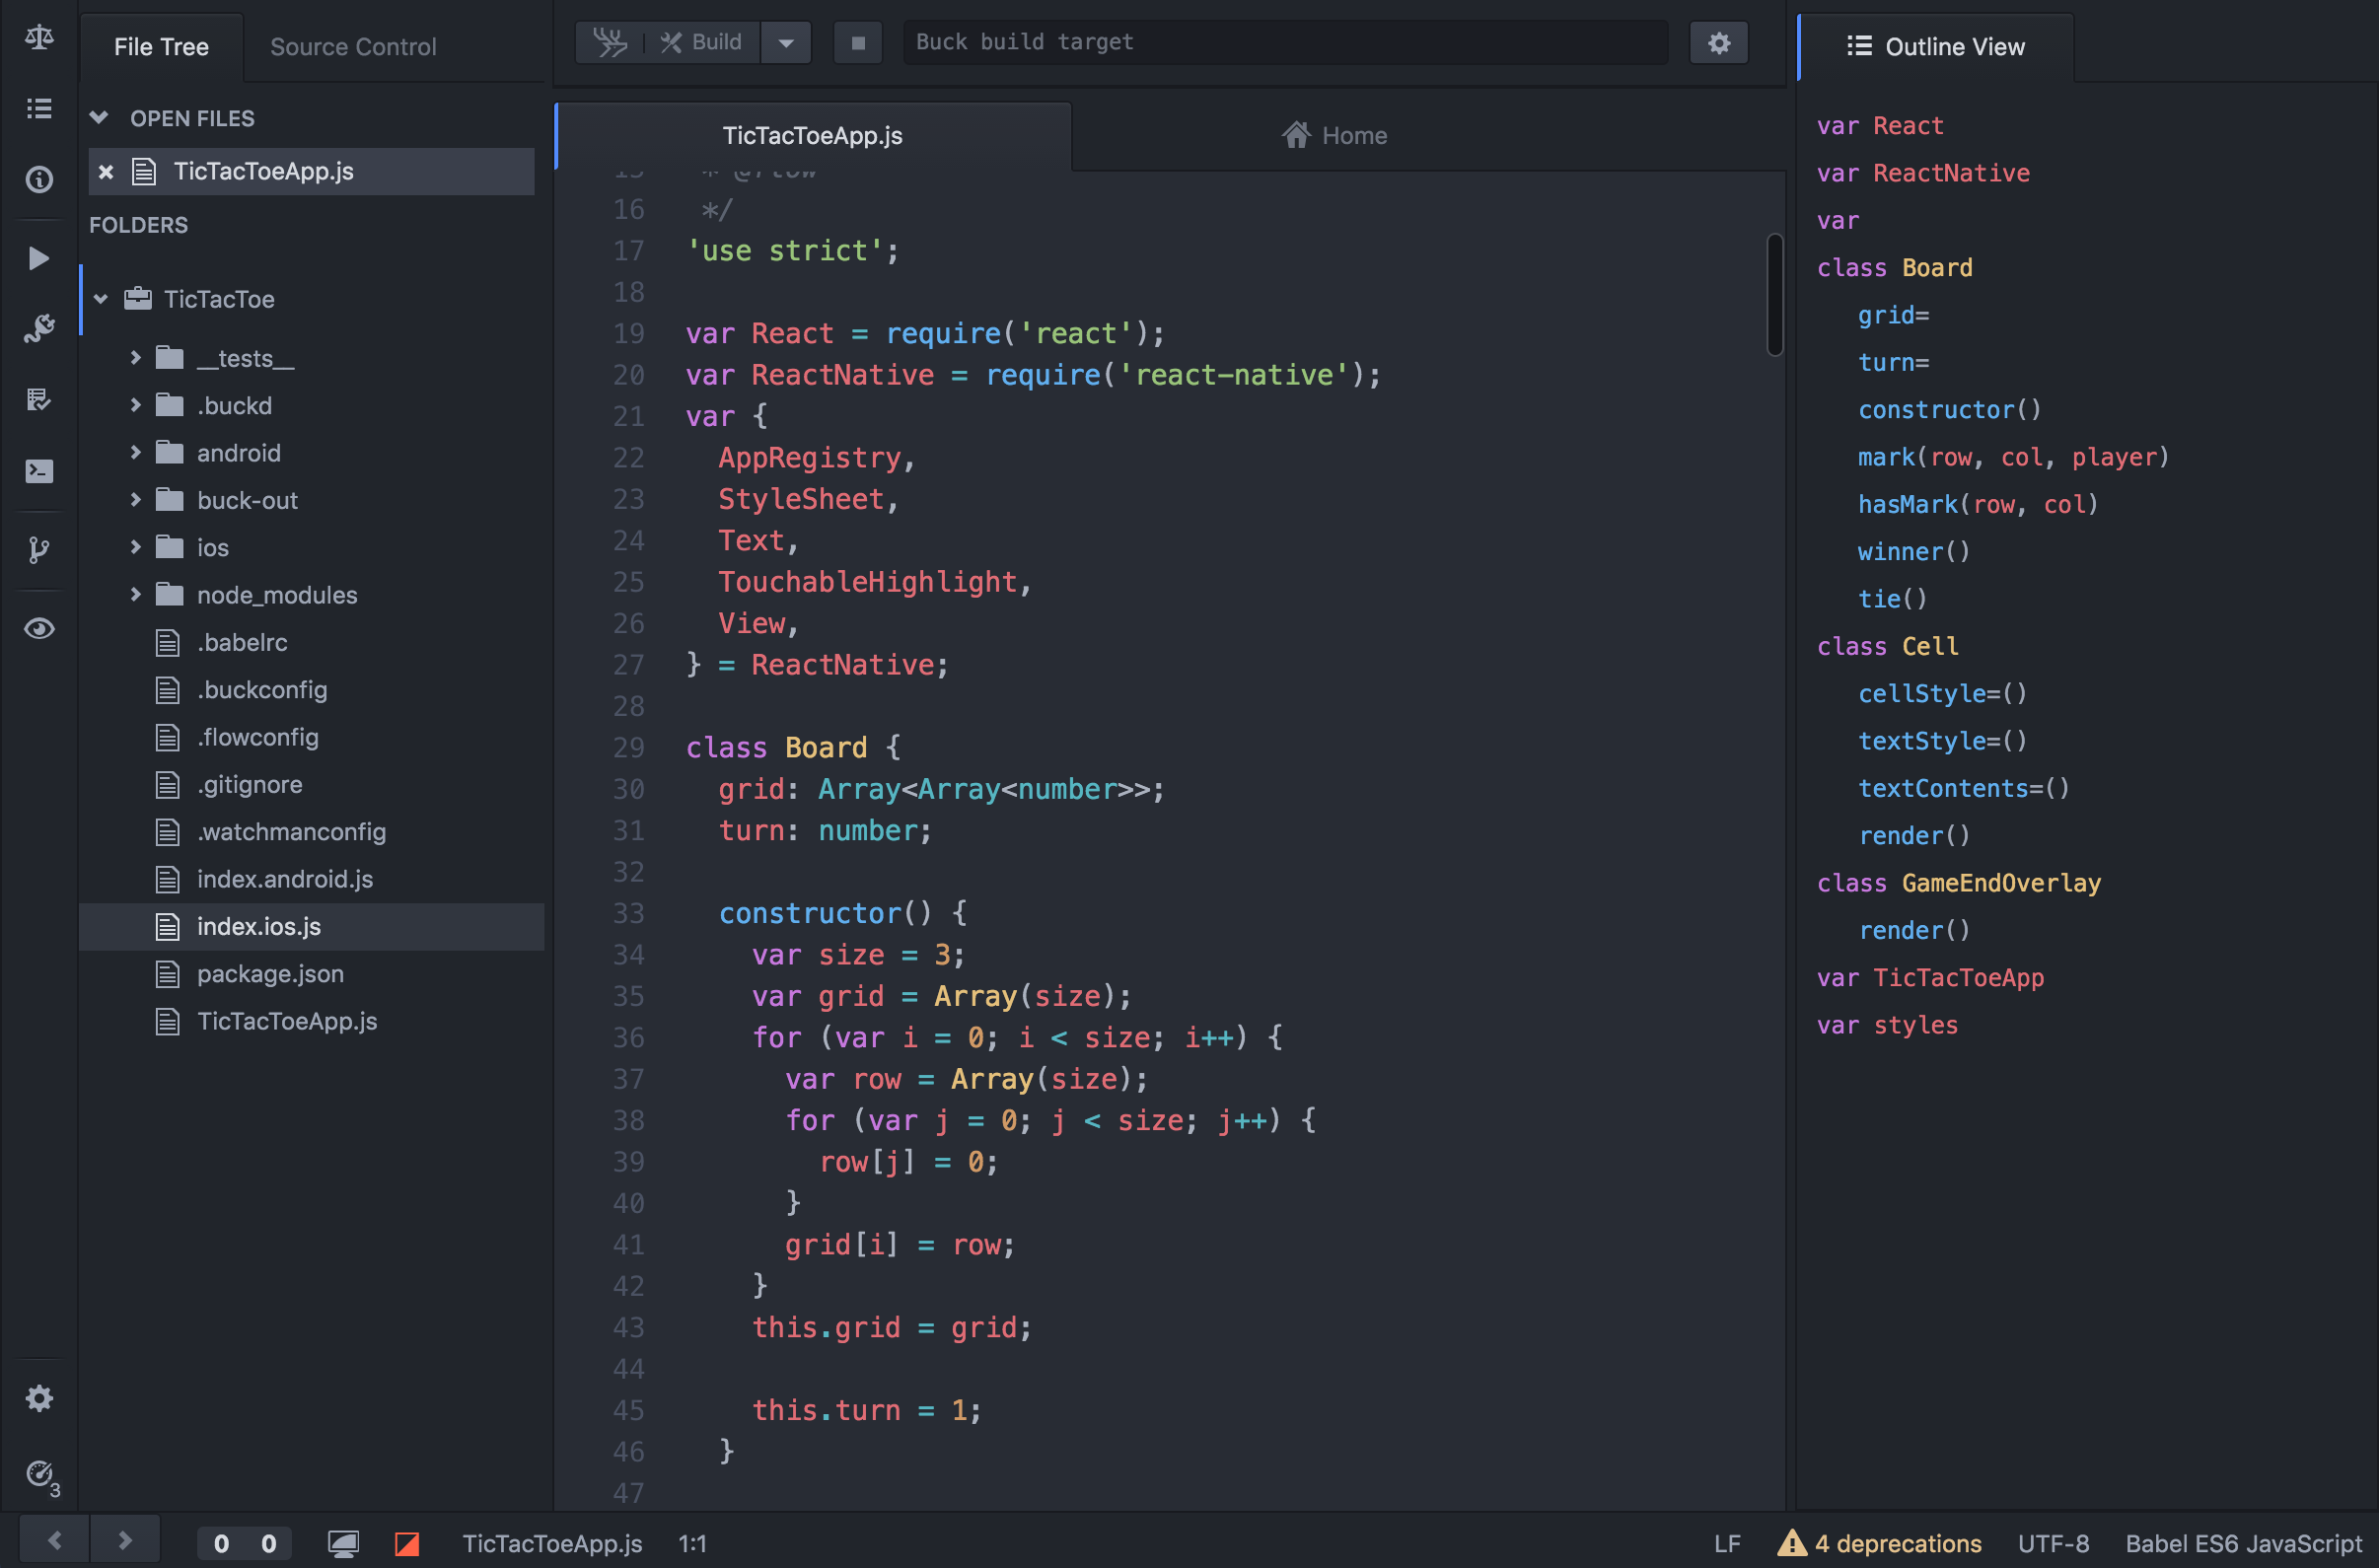
Project Explorer
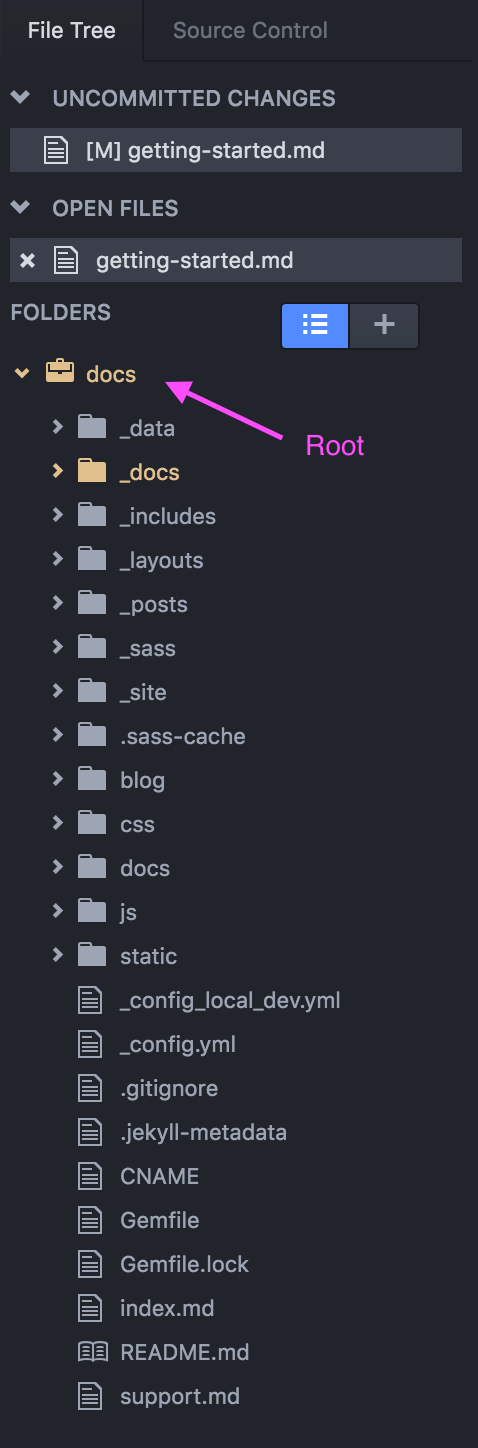
The Project Explorer is on the left side of Nuclide and contains two tabs: File Tree and Source Control. This is where you can open projects, navigate through your project to open files in the Editing Area, create new files and folders, view source control information, etc.
Adding Projects
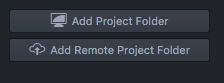
The first time you open Nuclide, there will be no projects or files open. Instead you will see two options in the Project Explorer’s File Tree tab: 1) Add Project Folder, which opens a local project, and 2) Add Remote Project Folder, which opens a project on a remote machine.
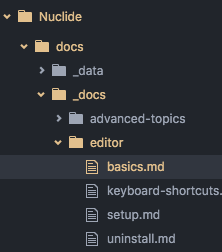
When you choose a project to open, you are choosing the root directory of that project. Upon opening, the project’s file tree appears with the root folder at the top.
To remove a project from the Project Explorer, right-click on the root folder, and choose Remove Project Folder.
Multiple Projects
You can have more than one project open at a time. To open a second project, right-click anywhere in the Project Explorer’s File Tree area, and choose Add Project Folder or Add Remote Project Folder.
You can have both local and remote projects open at the same time.
With multiple projects open, default searching for files and in files will span both projects. However, features such as debugging and error checking will still occur by project.
For the
Find | Find In Projecttask, you can add project-level granularity by specifying the root of the desired project as a filter for the search.
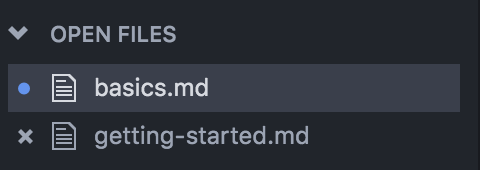
Open Files
The Project Explorer’s Open Files list displays which files are currently open, allows for quick closure of open files (click on the x icon of a file), and indicates which files have unsaved changes (a blue dot in front of the file name).
Changed Files
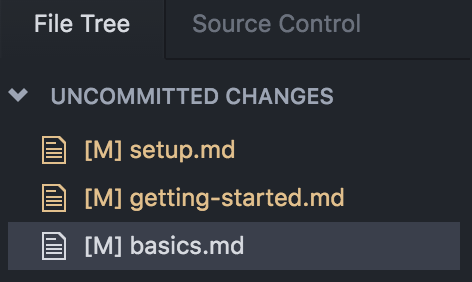
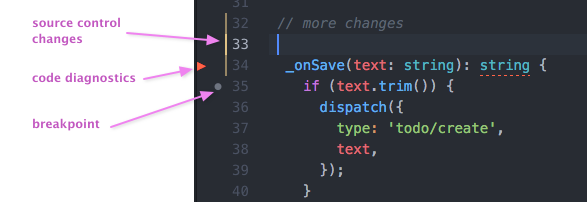
If your project is under source control, the Project Explorer will highlight the files that have changed in your project since your last commit.
Uncommitted Changes
Files that have had changes made to them will also appear in the Uncommitted Changes list at the top of the Project Explorer.
Source Control
Under the Project Explorer’s Source Control tab, you can see if uncommitted changes exist or not. If you are working with a Mercurial repository, the branches are listed as well.
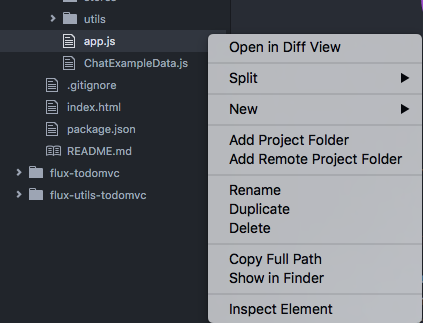
Context-Aware Menu
A context-aware menu appears when you right-click in the explorer. This menu provides options such as adding new projects, searching within the project, etc.
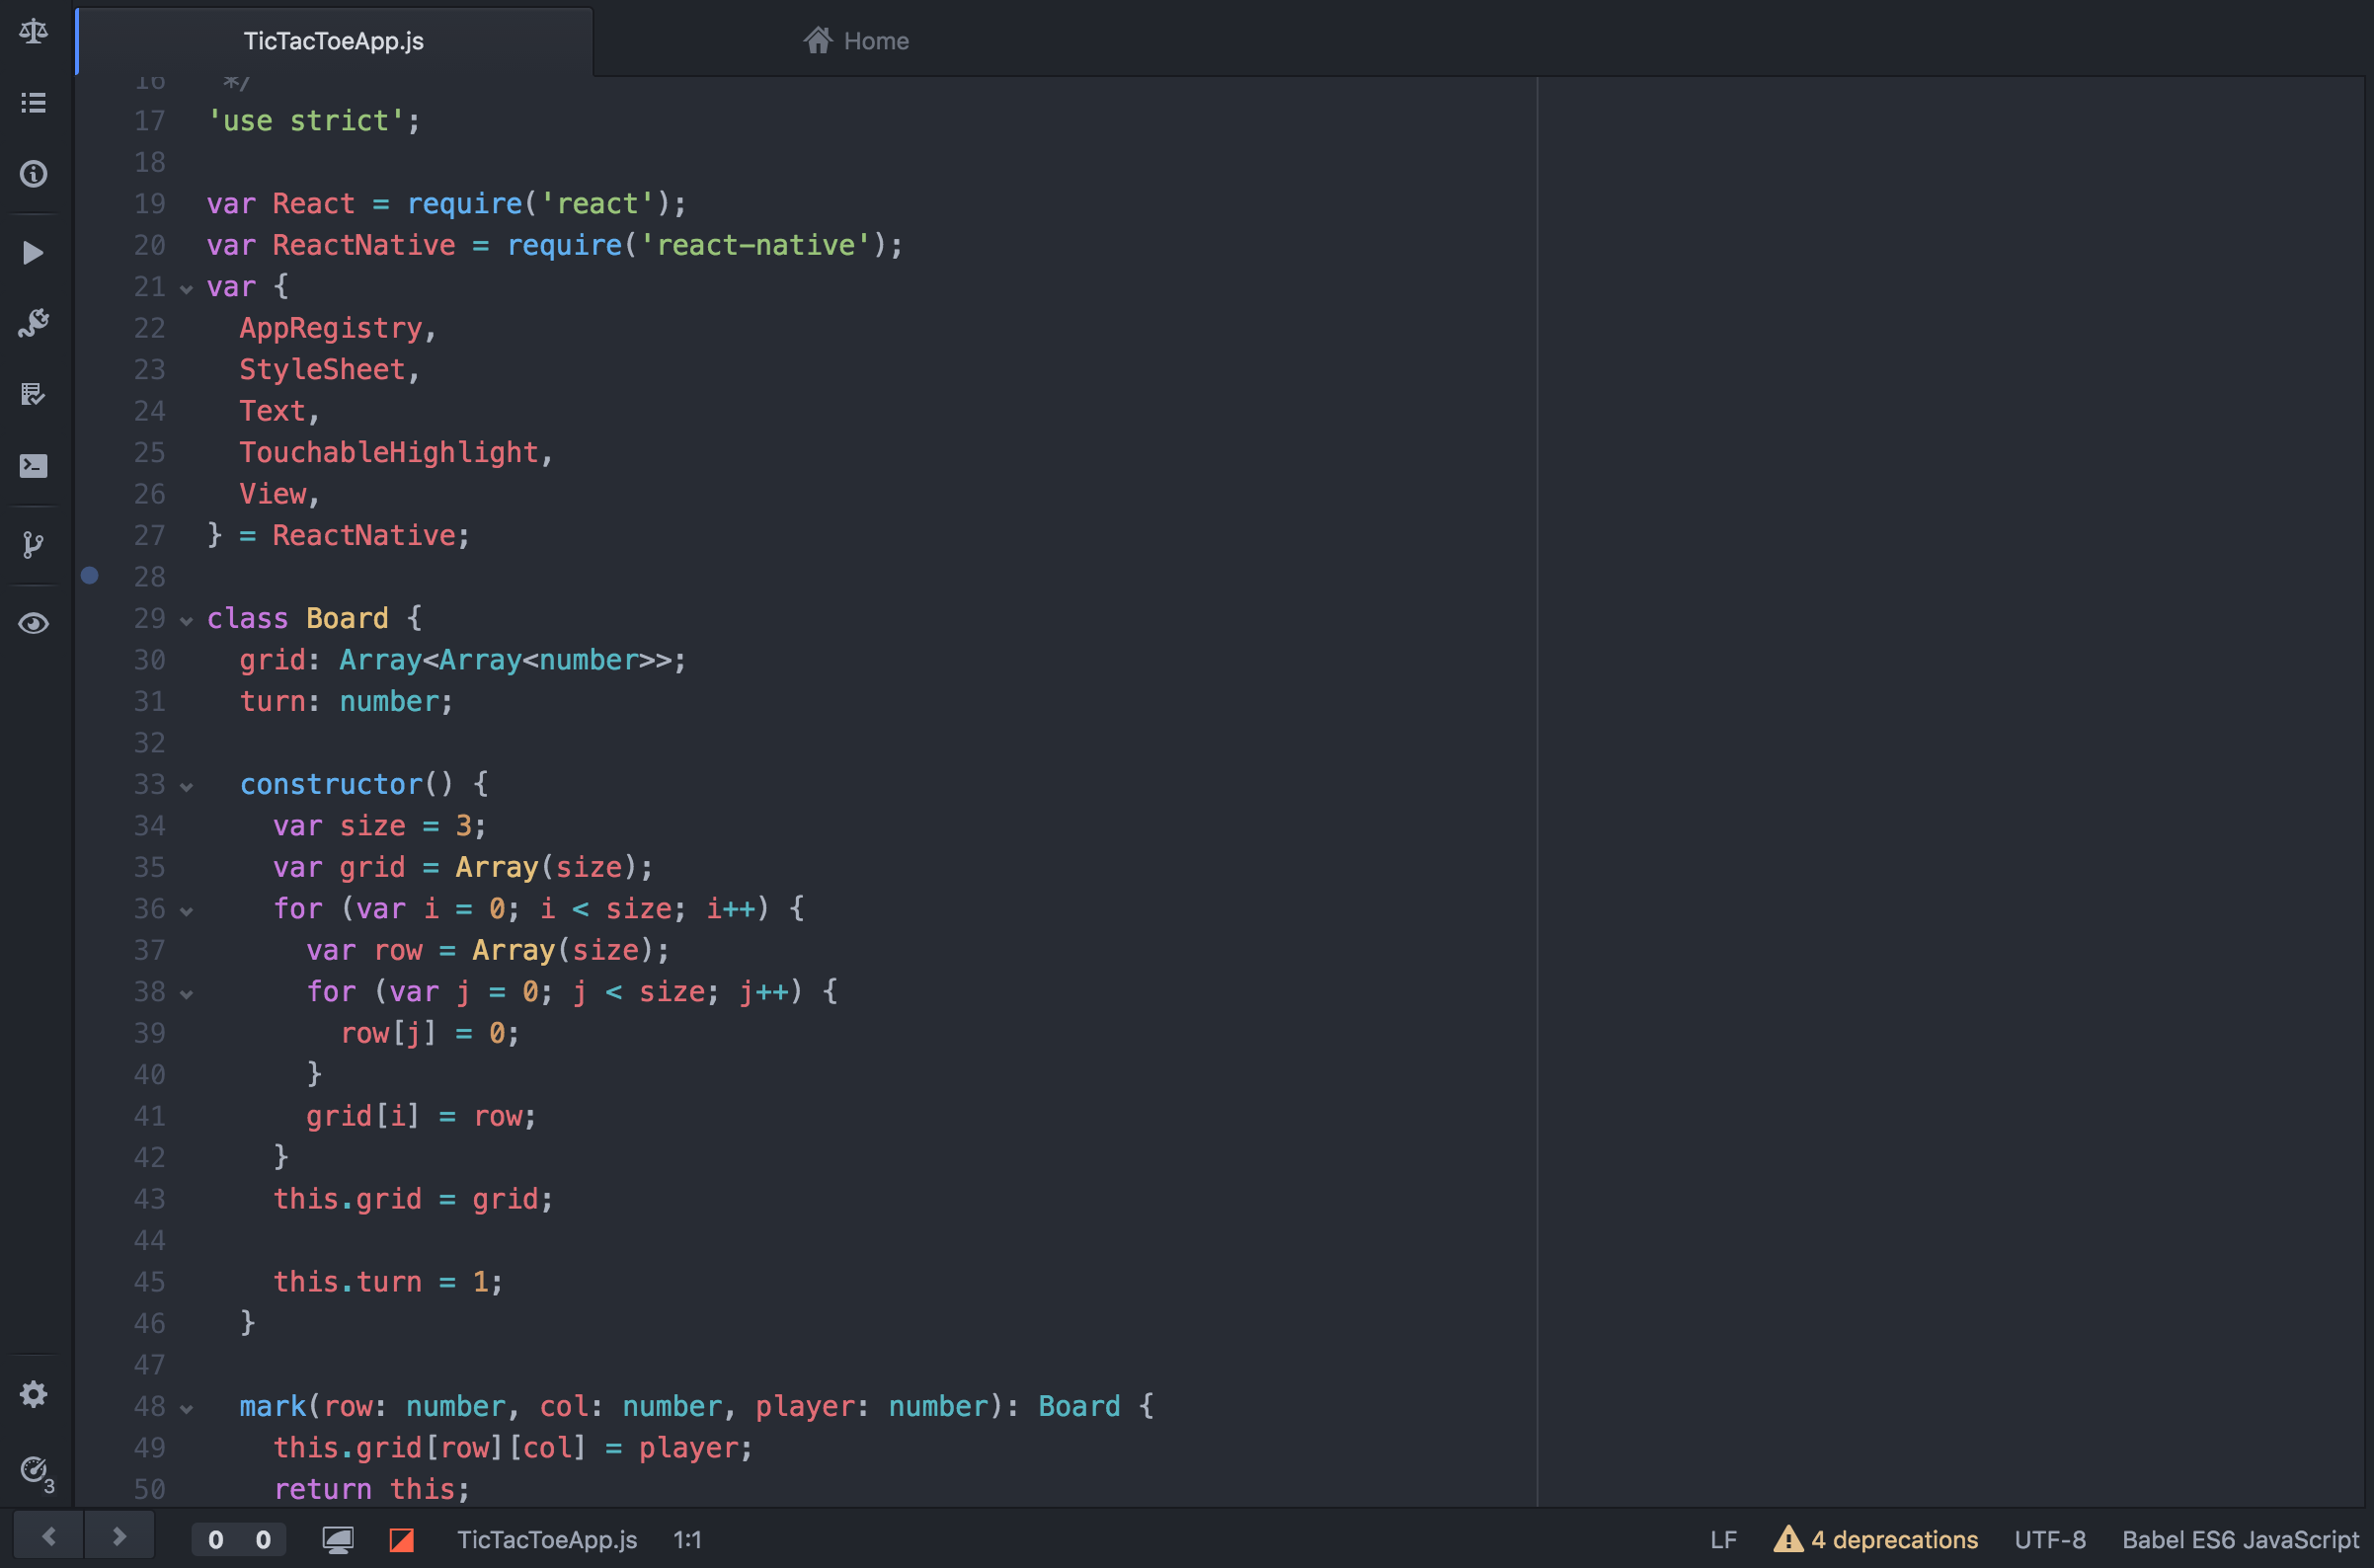
Editing Area
The Editing Area is the main area for working with your code and text files. Each file is represented by a tab. You can split this area into various panes for easier modification of multiple files. The Editing Area is also where you will find specialized tabs for the Nuclide Home page, the settings page, etc.
File Navigation
Navigating between files and within files is the same as in Atom.
You can quickly switch between open files by using Ctrl-Tab to cycle right or Ctrl-Shift-Tab to
cycle left.
Within files you can go straight to a line number by pressing Ctrl-G. If your project uses
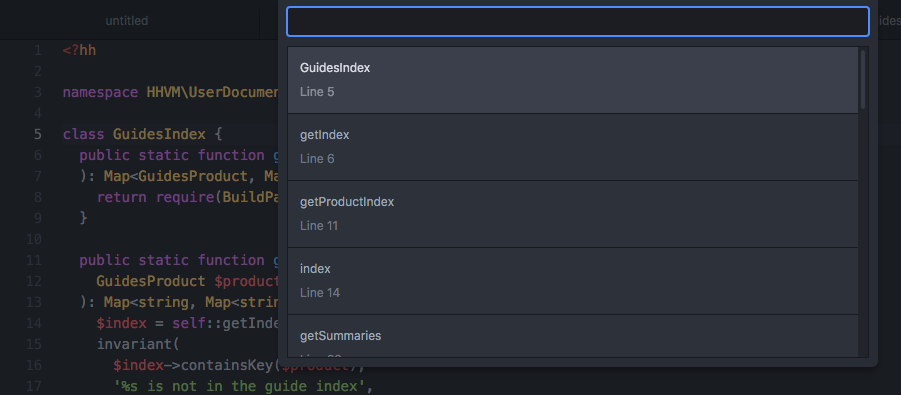
a supported language, you can also jump to symbols with Cmd-R (Ctrl-R on Linux).
Search
Most of the searching actions are the same as
Atom. For example, you can search within
a file (i.e., Cmd-F) or throughout your entire project(s) (i.e., Cmd-Shift-F).
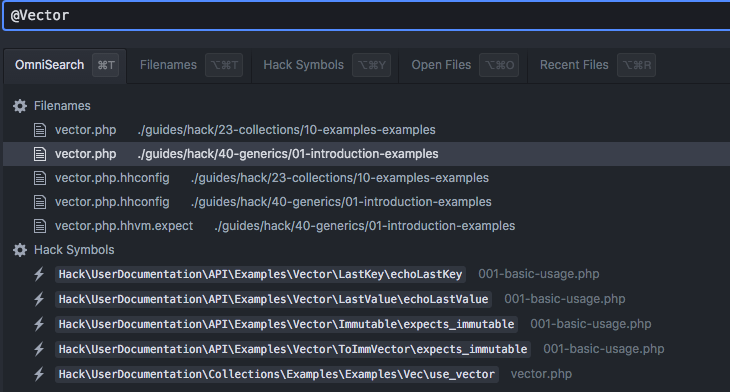
In addition to the basic Atom searching, Nuclide adds an additional powerful search functionality
that allows you to search in various contexts. OmniSearch (Cmd-T on Mac and Ctrl-T on Linux)
provides a way to search, all at once, across your project, within your files, code symbols, etc.
Context-Aware Menu
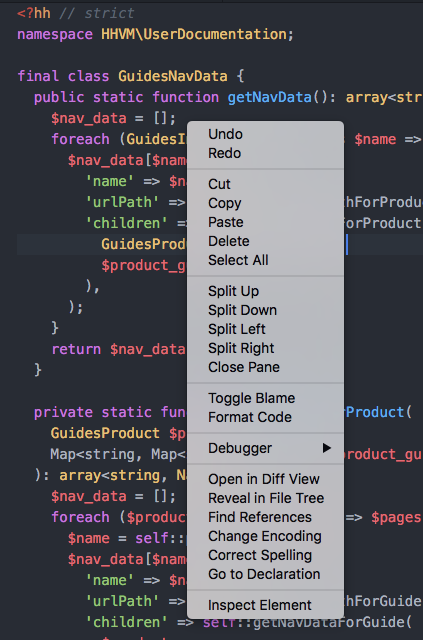
A context-aware menu appears when you right-click in the Editing Area. This menu provides options such as adding and closing panes, setting and removing breakpoints, showing line-by-line blame (if that information is available), etc.
Status Bar
The Nuclide status bar builds upon the Atom status bar package, adding powerful new features, including code diagnostics and remote connection status.

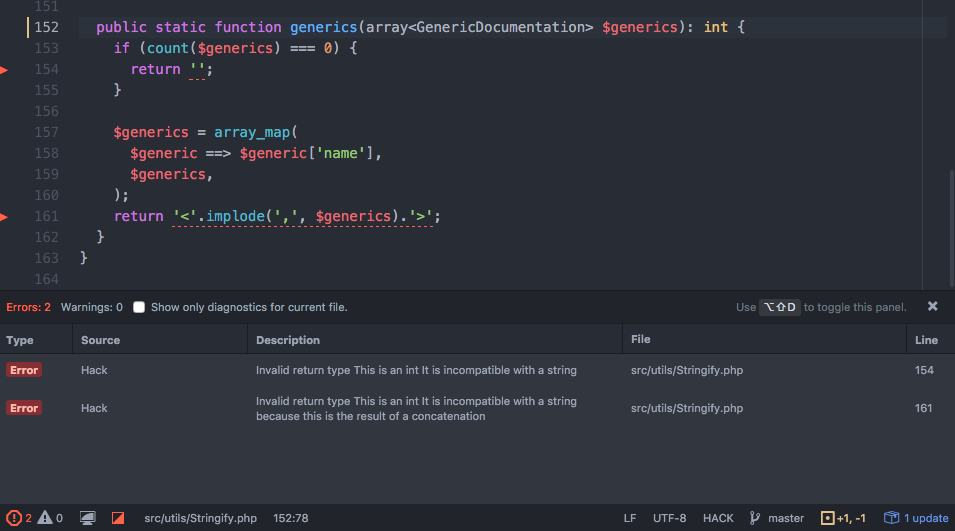
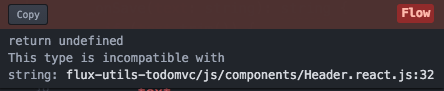
Code Diagnostics
If you are using a supported language that provides linting and/or type checking capabilities (e.g., Hack or Flow), then code diagnostics is built directly into Nuclide for that language.
Remote Connection Status
If you are connected to a project on a remote machine, clicking the Remote Connection icon on the status bar will provide information about the current status of that connection. Generally, if all is well, the connection to the server is “healthy”.

If you check the connection against a local project, you will get information regarding whether the current active file exists on the local filesystem.
File Encoding
The default file encoding for Atom is UTF-8. Clicking on this in the status bar allows you to
change the encoding of the current file.
Language Selection
Atom automatically determines the language of the current file. Normally, this is correct. However, you can change the language, and Atom will change its syntax highlighting appropriately.
Branch
Assuming your project is under source control, the status bar also shows the current branch on which you are working.
Gutter
Atom has a gutter that shows you information such as current line number, source control status and function/method folding. Nuclide has added further features to the gutter, including setting breakpoints for the debugger and showing diagnostics for supported languages.
Code Diagnostics
If you hover over the code diagnostics errors, an inline window appears showing the problem.
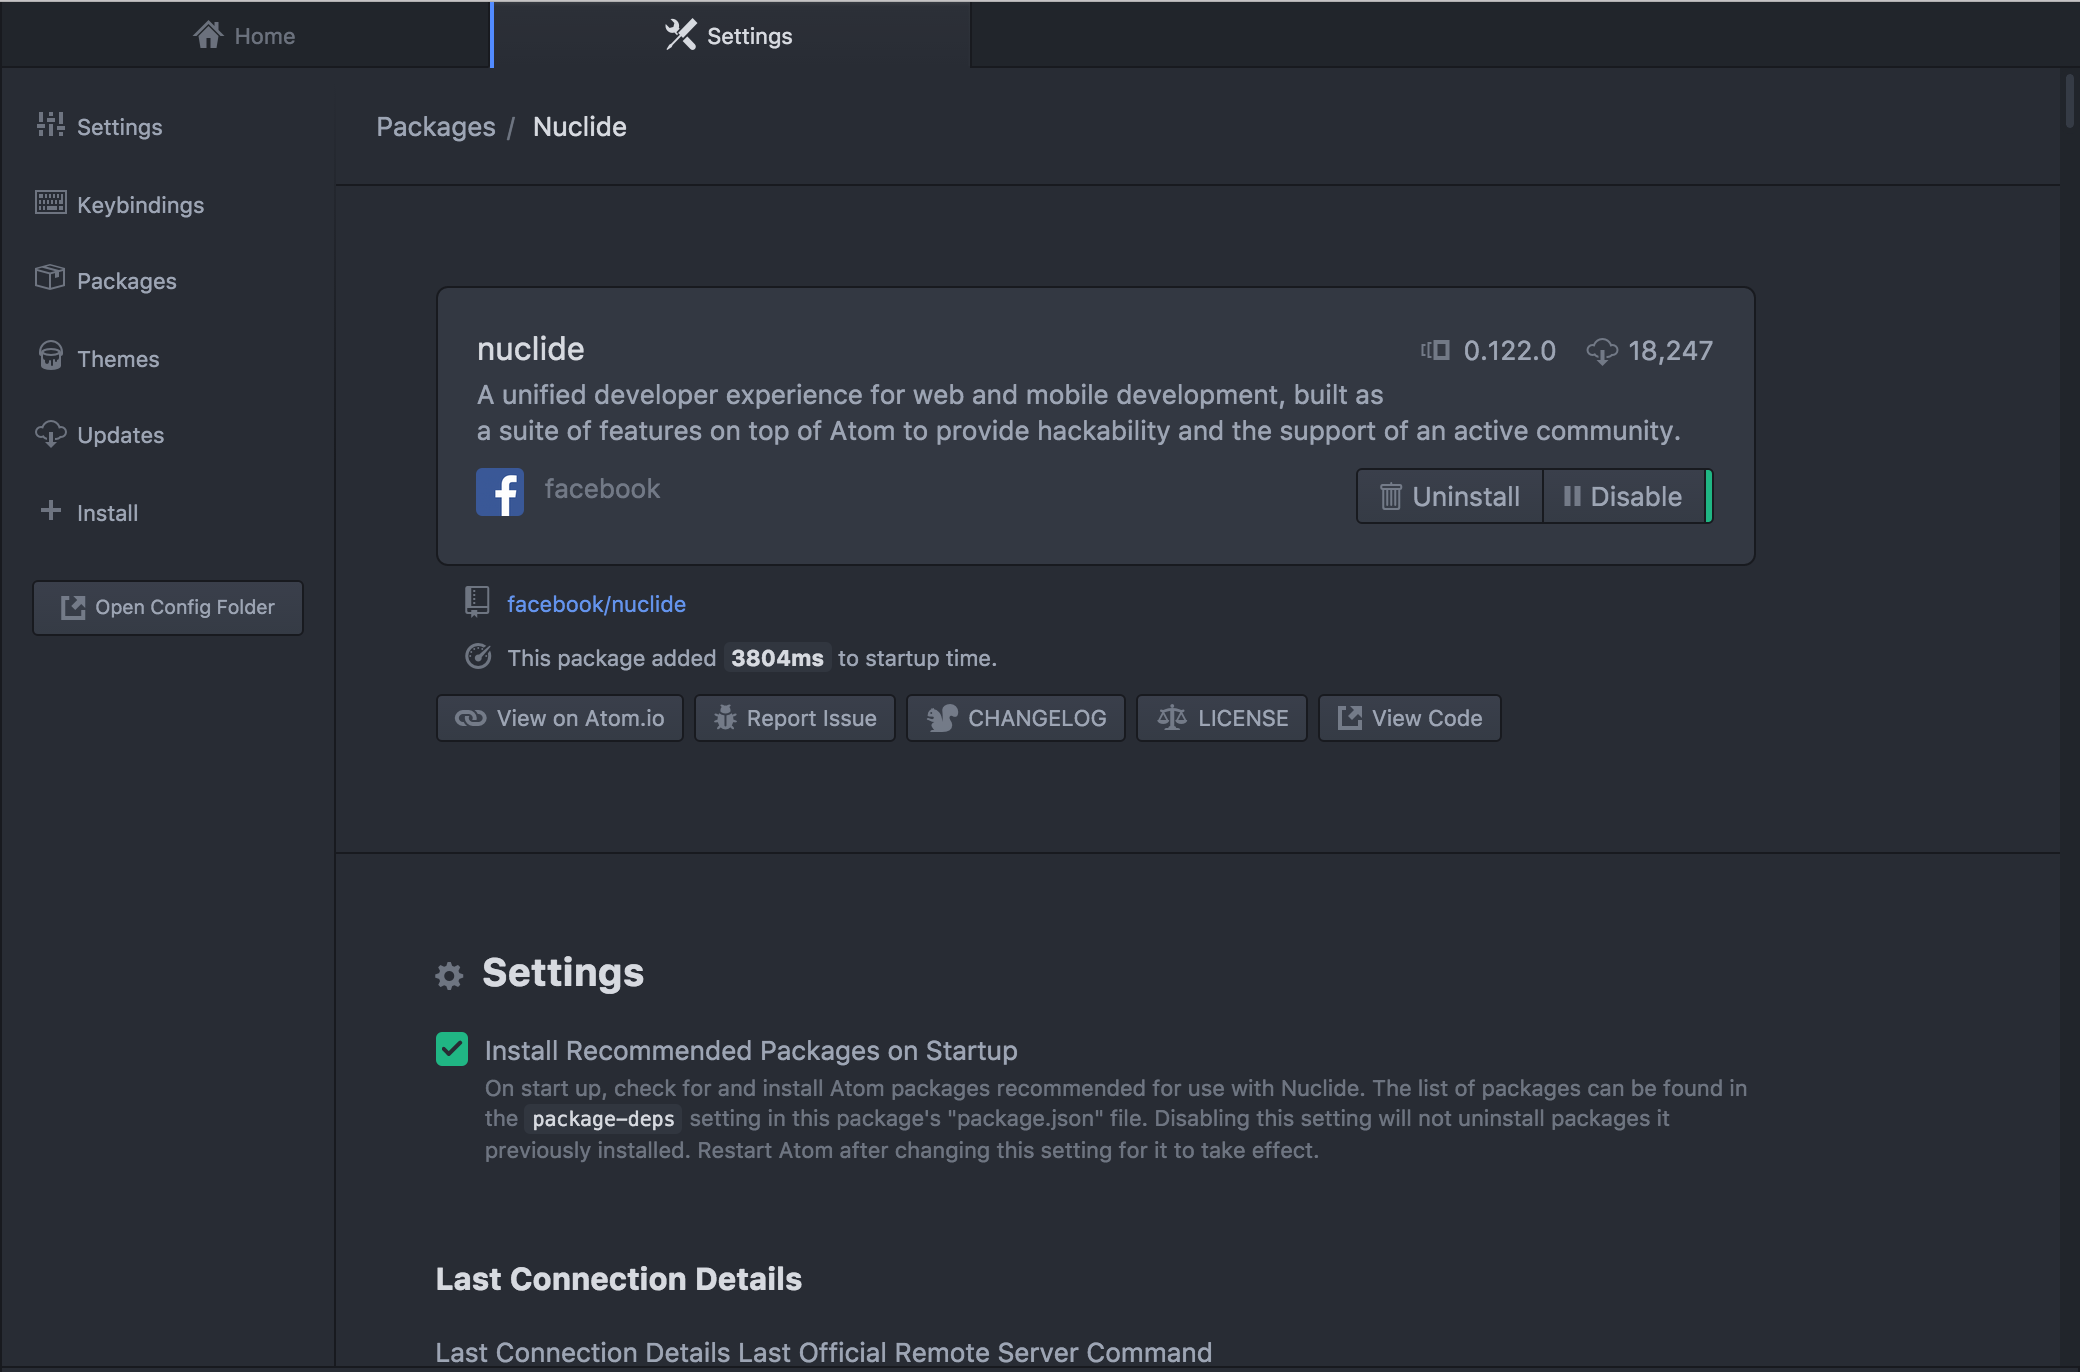
Preferences Pane
Nuclide has its own set of customizable preferences and settings.
You get to these preferences by opening the Atom Settings view via the Cmd-, keyboard shortcut
(Ctrl-, on Linux) or through the Packages | Settings View | Open menu option.
A new tab opens in the Editing Area titled Settings. Select Packages from the list at the left of the Settings tab, and scroll down until you see nuclide under either Community Packages or Development Packages.

If you linked the Nuclide source code to Atom’s development packages and opened Atom in development mode via the
--devflag, you will see thenuclidepackage under Development Packages.
Click on Settings to see all of the Nuclide preferences and settings.
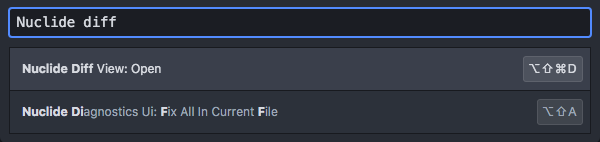
Command Palette
Atom is highly flexible in how you perform actions. Nuclide adds actions as well. There is a variety of menu options, and many menu commands are equally accessible from the keyboard as well.
The Command Palette shows you every available command available in Atom and Nuclide.
Cmd-Shift-P toggles the Command Palette.
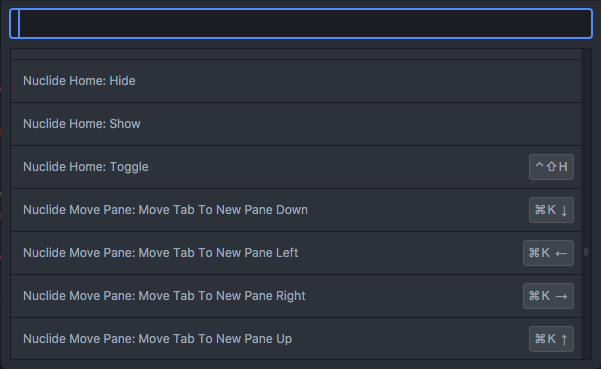
You can narrow down the options that match your search by typing in the text box at the top of the Command Palette.
Distraction-Free Mode
Distraction-Free Mode enables you to eliminate any surrounding panes allowing the Editing Area to take over the entirety of the window without having to toggle panes off individually.
To use Distraction-Free Mode in your project, click on the Toggle Distraction-Free Mode button in the Nuclide toolbar.
Before activating Distraction-Free Mode:
After activating Distraction-Free Mode:
If you wish, you can activate other panes after entering Distraction-Free Mode by toggling them on with their toolbar buttons or the Command Palette.